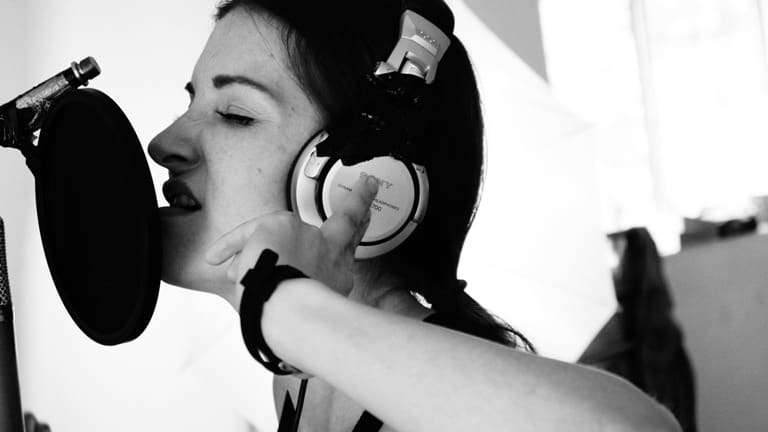
Many computer users are unaware that a microphone can pick up sound from headphones. This is an issue if you are trying to mix your music or using pc and do not want the sound of what you’re listening to coming through in the recording. There are many ways to stop this from happening, so read on for some tips!
1. Adjust your volume and gain audio settings
Try turning the gain down on your mic. If it’s a condenser mic, make sure you don’t turn the mic volume too low or else everything will sound very distant and echo-y.
This is because every time noise enters into your microphone (i.e., from headphones) there will be an increase in gain on the audio recording. So by reducing the gain on the mic output on your sound card, you are reducing the strength of this noise.
When it comes to dynamic microphones, they do not have a very high sensitivity so while attenuating might be helpful in some cases (depending on your environment), I recommend making adjustments with positioning instead.
If you have a microphone boost button on your mixer(if using one), try boosting the signal after it’s been recorded. This will make it seem like you’re speaking at a lower volume but won’t affect how loud your voice actually is in the recording.
If you are using usb mic, you can make adjustments to your windows sound settings or iOS equivalent. If you are having trouble changing microphone properties to lower the background noise, double check that you have the correct sound drivers installed.
2. Change your microphone for one that is less sensitive
Try changing your mic for one that is less sensitive. Generally speaking, condenser mics are more sensitive to sound than dynamic microphones so if you’re using a condenser and having issue with your mic picking up headset audio, try changing it for one that has different sensitivity levels (i.e., -50 dB). This should produce a lower microphone volume. Click here to read about why you mic might be picking up everything.
3. Turn the volume down on your headphones
If you have a problem with your mic picking up sounds from your headphones, you can try turning the volume down on your headphones to the point that it’s below the threshold of what your mic can pick up. On a computer, this is done by going to “volume mixer” and lowering the volume on the stereo mix to your headphones until it reaches an output level that isn’t picked up by your mic anymore. Obviously, you don’t want such low volume on your headphones that you can’t hear your music.
If you’re using external speakers or closed-back headphones with independent volume controls, try turning down the volume on them to below the threshold as well.

4. Use a noise gate
A noise gate is another option for stopping your mic from picking up the noise created by headphones. Noise gates are a type of audio filter that can be used to stop sound coming out of an input channel when it reaches a certain volume, and some have settings for lowering the threshold if you want. Read more about microphone sound suppression here.
The downside is that they don’t work on any sources except those connected directly to the input device.
5. Wear ear plugs or noise cancelling headphones
Depending on your headset model, whether you have an open back, closed, on-ear, in-ear amount of audio signal leaks will vary. Earpieces or noise canceling headphones can be a solution, but might not be the best for some audio recording or monitor situations. Closed back models, such as AKG K171 studio headphones, have great isolation and better able to stop sound from leaking out that might be detected by a mic.
6. Place a barrier between you and the mic
One way to block sound from reaching your mic is to place a barrier between your headphones and the microphone. This can come in handy also if you want to block out sound from your computer’s fan, or even when recording video with a camera on a tripod so nothing you don’t want to hear reaches the mic.
There are many different ways you could do this – some examples include using a piece of foam or even a piece of paper.
7. Move away from the mic for lower output audio
Another way to fix this same issue of sound from reaching your mic from your headphones is to just move away from the mic.
Again, this is most likely best for instances when you are recording with a stationary camera in front of you and your computer (taking into account how far it would be for sound waves to reach the microphone).
If possible, try to position yourself about four feet or more away from where the mic is.

Leave a Reply